Phase 4 - Implement Your Online Class
Introduction
Well done! You're persisting with the process, you clearly want your course to be a success, great. Let's use the implementation phase to make sure that you have thought about everything to make your course a unique learning experience for your students. Have you thought of everything? Later on, in the fifth phase, the evaluation stage, you will get to re-evaluate if the tools you chose and your content are working well. You are ready to launch your online course now. You can use the implementation phase to ensure that you have properly thought of everything. Is everything in place?
Now it's time to present your course material to others. Does the online-environment work? Does everyone has access?
Please also read our section Facilitate your online class. Enabling quick and easy access to your online course is a critical but often neglected first step in terms of welcoming students to your course. Be sure to test this stage before you launch your course.
How to perform hybrid
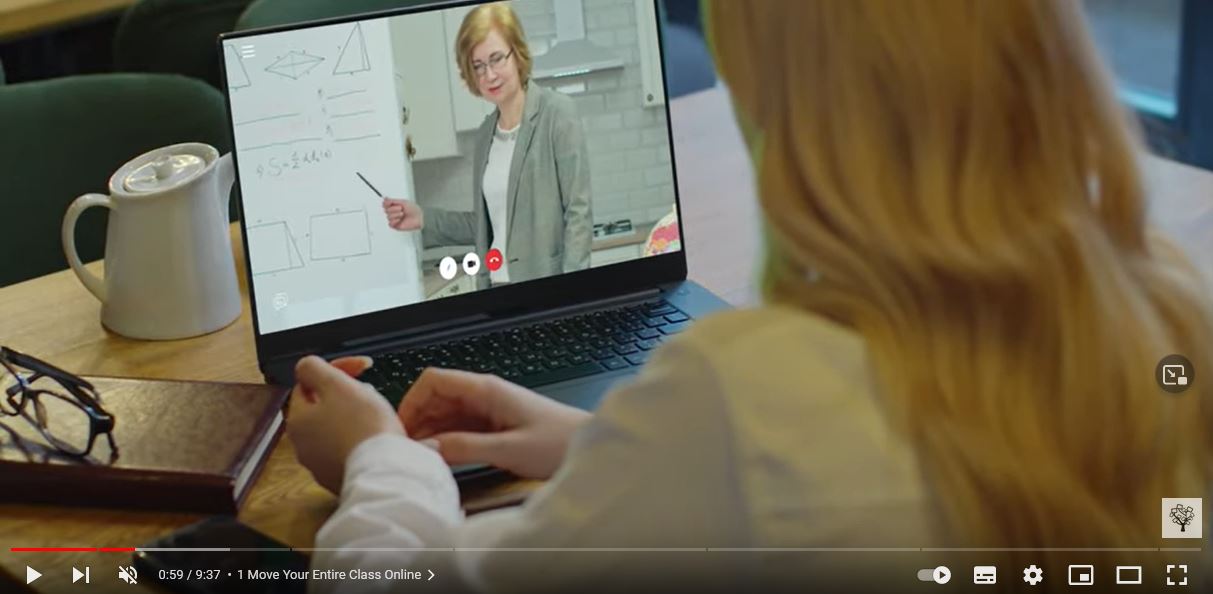
Before the pandemic, you were most likely used to teaching in a traditional seminar room. After the pandemic, a lot of teaching will take place in seminar rooms again. But one element has been added: Hybrid teaching. This means being in person and remote at the same time. That means you are in the classroom with some of your students and others are sitting in front of their laptops. How do you manage to be accessible and available to both groups of learners - both those in front of you in person and those learning remotely?
The video series In Person and Remote at the Same Time? No Problem! shows you principles and gives tips to help you teach, regardless of whether your class is fully in person, fully online, or a little bit of both.
And in case you like the idea of teaching online but don't want to be on camera yourself, then let's introduce you to an alternative approach. Discover more about the possibility in this article How to make a presentation-based online course if you don’t want to moderate in front of the camera. This six part video series walks you through every step of the process for creating a presentation-based course.
How to integrate analogue elements
Almost all virtual rooms have technical equipment, such as a whiteboard. You can display your emotions (e.g., smileys, clapping, hearts) as status by clicking on them. Students who are used to attending webinars will already be familiar with many of these interactivity options. To make your sessions more personal, you can incorporate familiar analogue elements, for example holding up cards to the camera, introducing the fishbowl method in breakout rooms or having setting up your camera to show a conventional flip chart. Why not have a virtual breakfast or bake-off with real food in your kitchen? We love to combine both real life and virtual elements - it creates a more authentic and relatable learning experience - a winning combination!
What are your ideas? What can you use from the analogue world online to bring more "fire" into your courses?

In the article How to do a fishbowl activity in the virtual space? you will find the steps to start a fishbowl discussion in your online class. You can use a whiteboard, a virtual meeting room or a tool like the online board Padlet.
So you have now finished creating your course, the next stage is an extremely important part of the process and will make the difference between success and failure. Are you ready to move on to PHASE 5 - EVALUATION?